
Last updated November 22, 2026
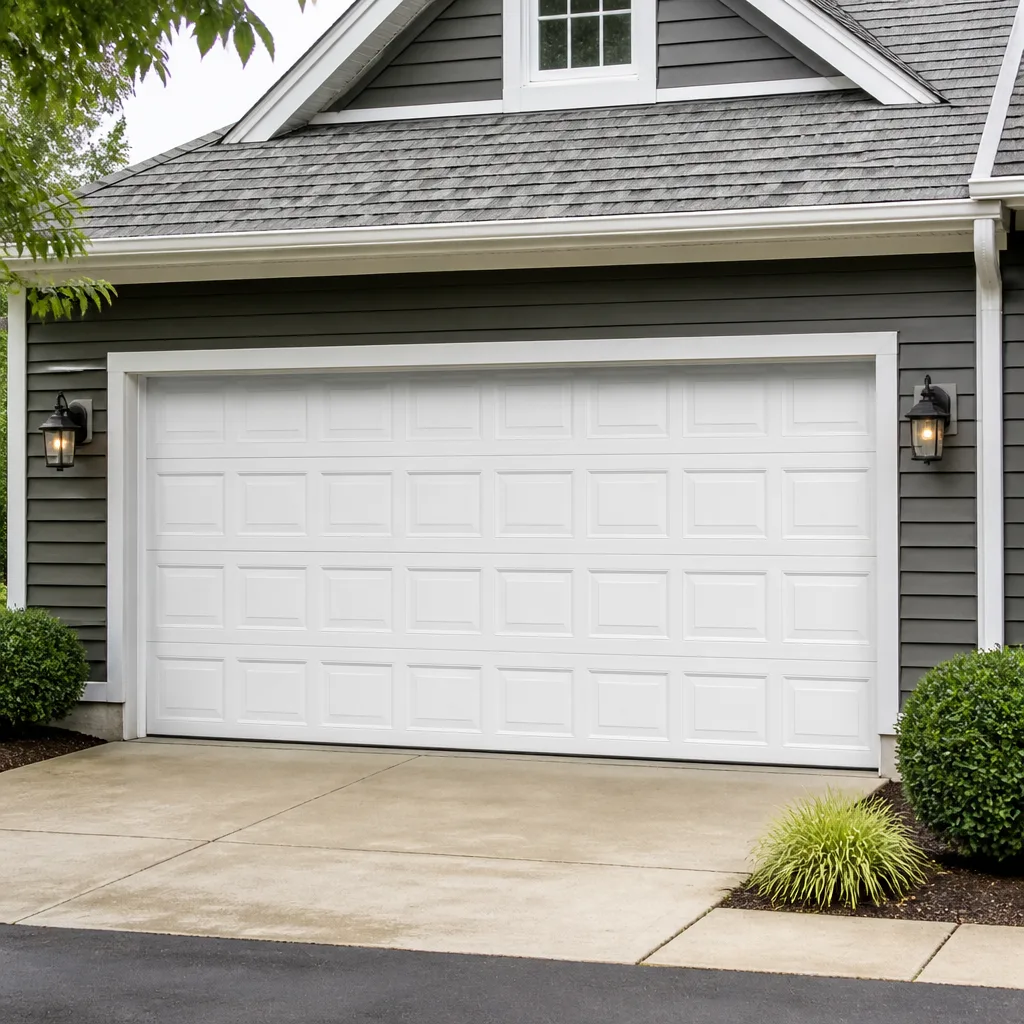 Raised-panel steel
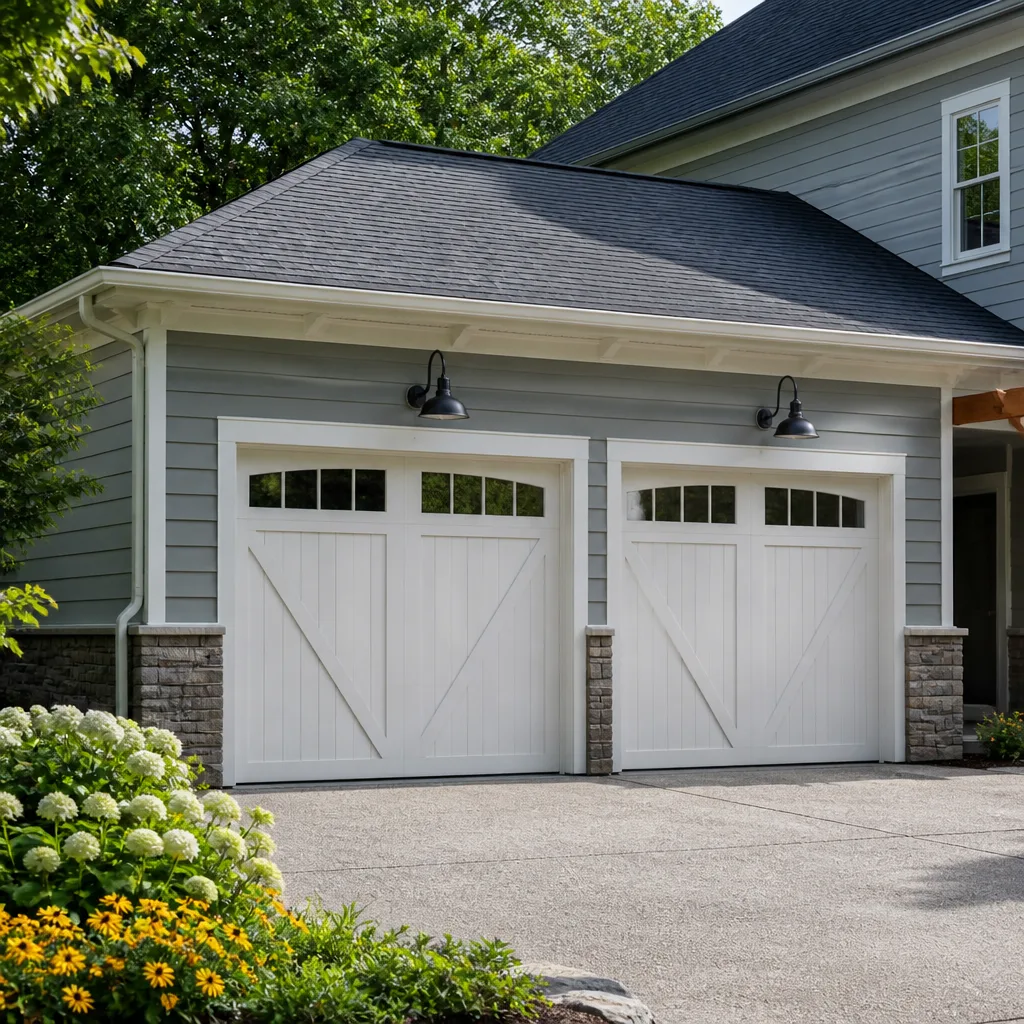 Carriage house
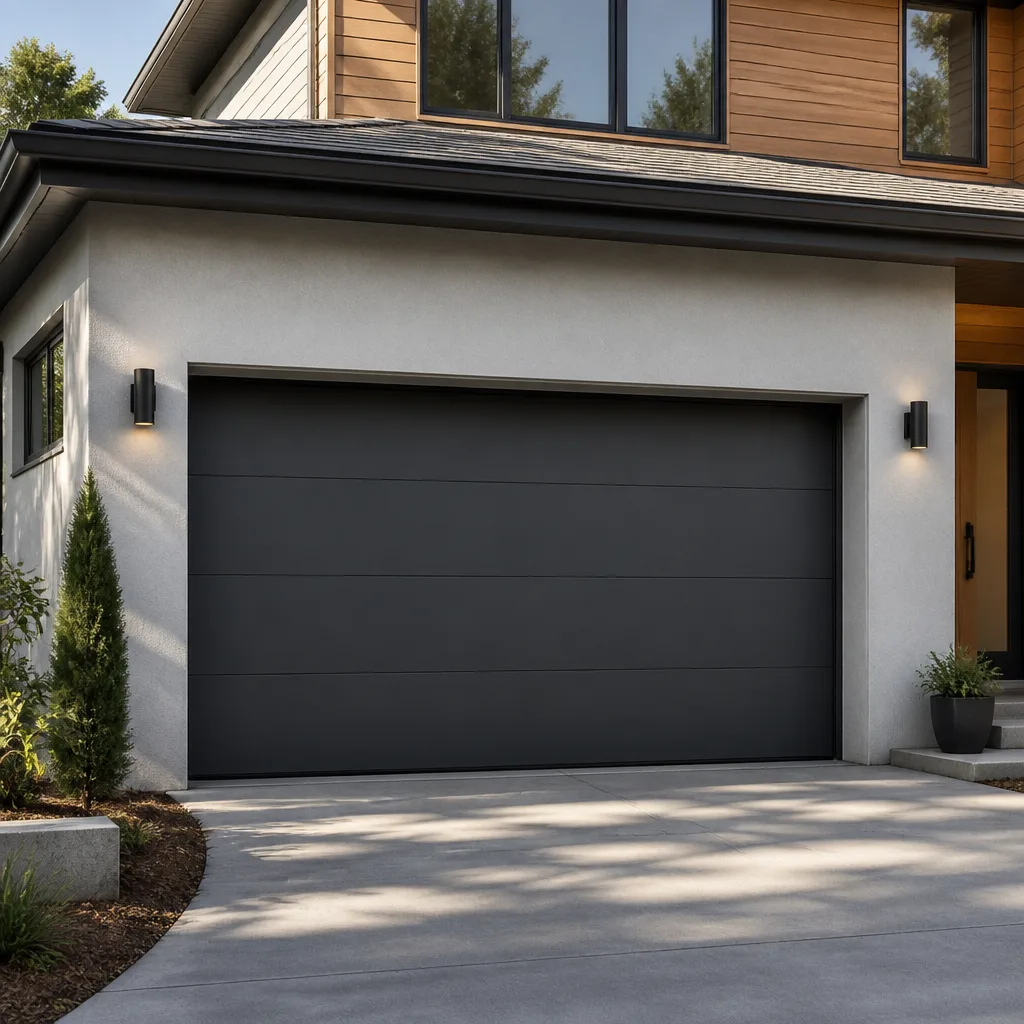 Modern flush
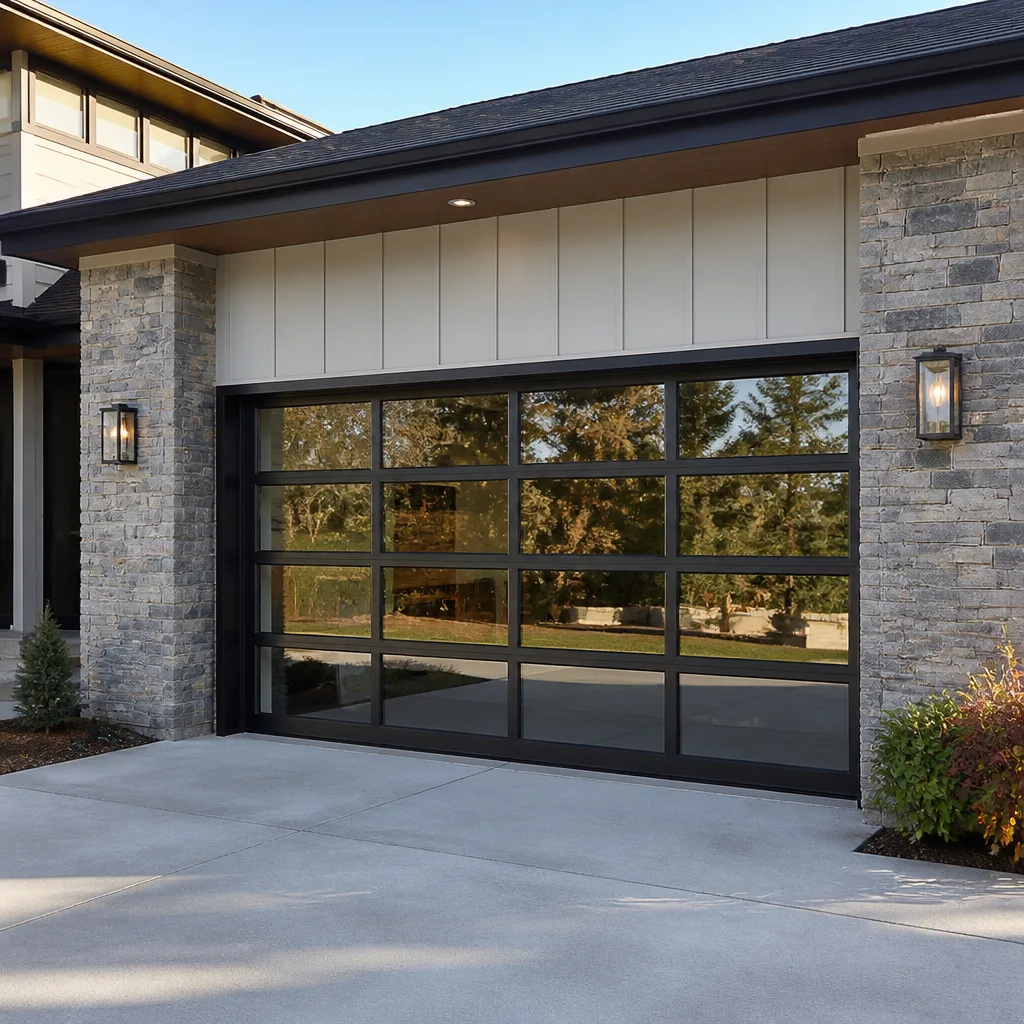 Full-view glass
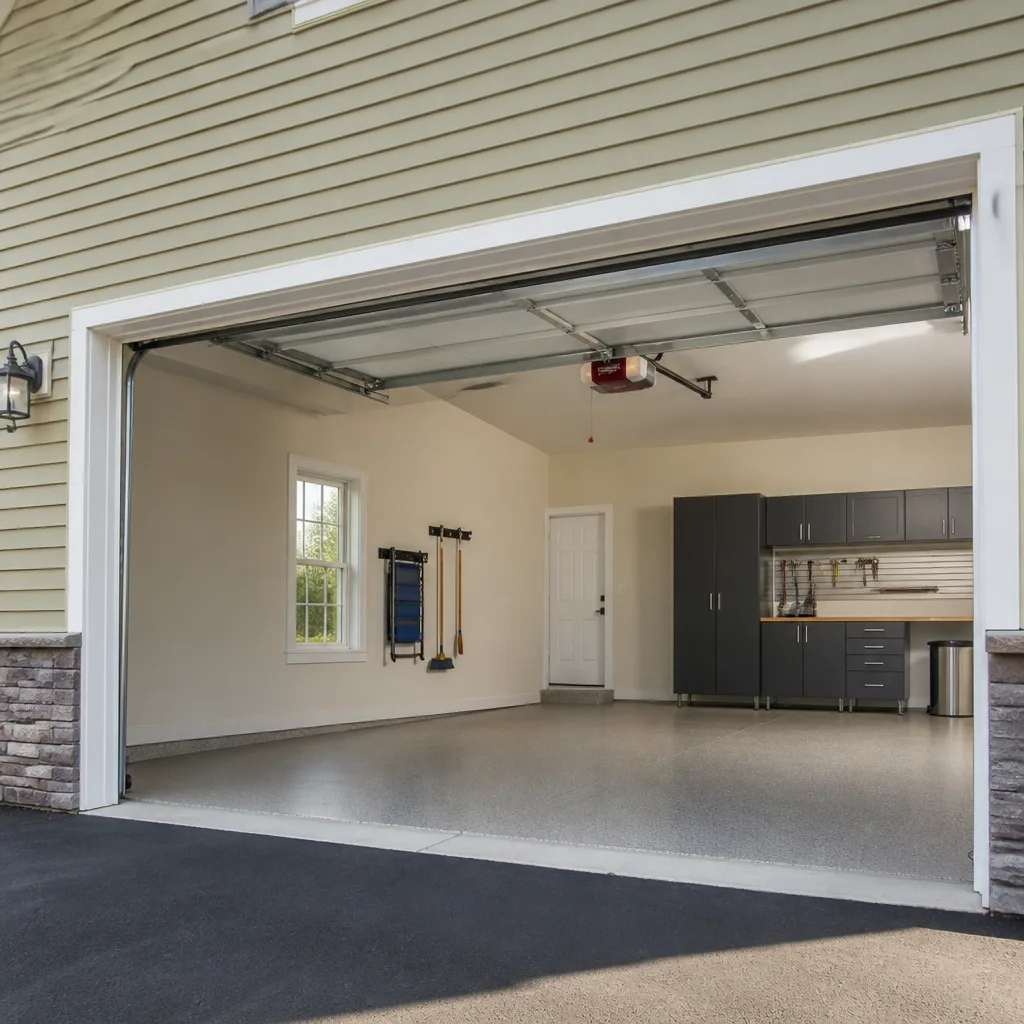 LiftMaster openers
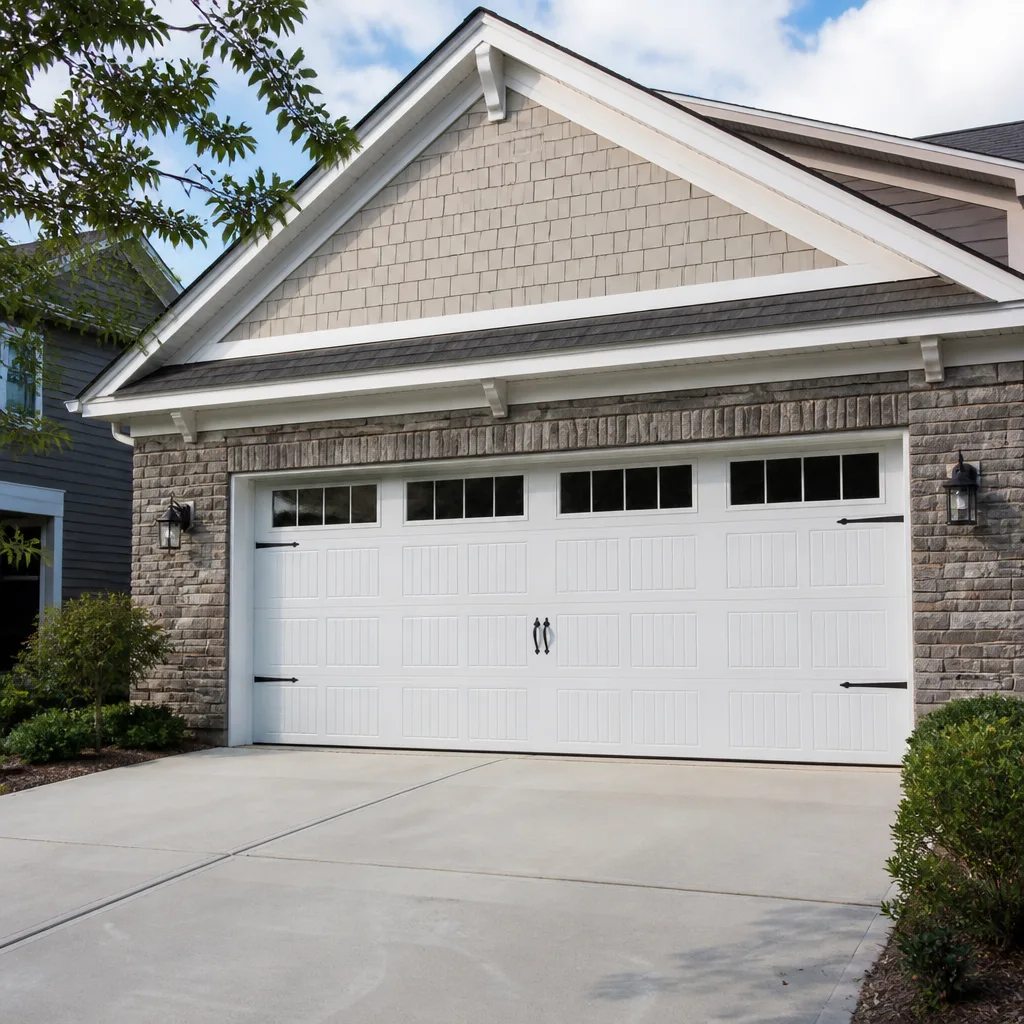 Chamberlain openers
Full 25-point door and opener safety check with every visit - springs, cables, rollers, tracks, and your LiftMaster or Chamberlain opener included
You get a price before we start. It does not change when the pro arrives.
Get your free estimateDIY vs Professional Garage Door: The Crystal Lake Homeowner’s Decision Guide
Most garage door advice online splits into two useless camps: “never touch it, call a pro” and “here’s how to wind your own spring.” Both are wrong in different ways. A garage door spring under tension stores enough energy to break a wrist or take out an eye, and no guide should ever walk you through winding one. But replacing a bottom weather seal or reprogramming an opener is a genuine Saturday-morning job for most homeowners in Crystal Lake. The real question isn’t skill level. It’s which specific tasks carry injury risk and which ones don’t.
This guide sorts garage door work into three honest buckets: safe DIY, DIY with risk, and professional-only. We’ll cover the five tasks that eliminate a big share of “emergency” service calls, why torsion springs are a hard line, and how to check whether your warranty survives a DIY repair. We’re Crystal Lake Garage Door Repair Pros, and garage doors are all we do, so we’ve watched this decision go wrong in both directions.
Quick Answer
Roughly 70 percent of garage door issues that trigger a service call can be handled safely by a homeowner with basic tools: weather seal replacement, track cleaning, roller lubrication, sensor alignment, and opener reprogramming. The remaining 30 percent – torsion springs, cables, bottom brackets, panel replacement, and opener logic boards – carry serious injury risk or require brand-specific parts and training, and belong with a professional. The dividing line isn’t confidence. It’s stored mechanical energy.
Styles & brands we work with
- Raised-panel steel
- Carriage house
- Modern flush
- Full-view glass
- LiftMaster openers
- Chamberlain openers
Table of Contents
- The Three-Bucket Test: Safe DIY, DIY With Risk, Professional-Only
- Why Torsion Spring Replacement Is a Hard Professional Line in Crystal Lake
- The Five DIY Tasks That Eliminate Most “Emergency” Service Calls
- Is Your Opener DIY-Programmable or Dealer-Level?
- How DIY Repairs Void Your Garage Door Warranty
- How to Diagnose Your Door Before You Decide
- Crystal Lake Climate and Your Garage Door: What Actually Wears Out Here
- DIY Cost vs Professional Cost in Crystal Lake
The Three-Bucket Test: Safe DIY, DIY With Risk, Professional-Only
Sort every task by one question: if this goes wrong, what’s the worst outcome? If the answer is “I lose an afternoon,” it’s safe DIY. If the answer is “I might get hurt or make the problem worse,” it’s DIY with risk. If the answer is “I might get seriously injured or crack a panel,” it’s professional-only. That’s the whole test.
Bucket 1: Safe DIY
These tasks involve no stored spring tension, no lifting of heavy panels, and no wiring beyond low-voltage sensors. Most can be finished in under 45 minutes with a screwdriver and a wrench.
- Replacing the bottom rubber weather seal
- Cleaning and wiping down tracks
- Lubricating rollers, hinges, and hinges with a garage-door-specific spray
- Aligning or cleaning safety sensors
- Reprogramming a remote or keypad
- Tightening hinge and bracket bolts
- Replacing a light bulb in the opener housing
- Straightening a slightly bent track with a rubber mallet (gentle pressure only)
Bucket 2: DIY With Risk
These involve moderate weight, working at height, or electrical connections. A careful homeowner with the right tools can do them, but they’re where most home injuries happen because people underestimate the weight and the height.
- Replacing opener light housing or logic board (mains voltage)
- Adjusting the opener’s travel limits if you understand the manual
- Replacing rollers (door must be fully supported)
- Bleeding hydraulic door closers, where present
- Replacing a broken hinge when the door is in the down position only
- Clearing a track obstruction near the top of the door
Bucket 3: Professional-Only
These involve stored energy or structural load. Do not attempt them. Full stop.
- Torsion spring replacement or adjustment
- Extension spring replacement
- Cable replacement or re-spooling
- Bottom bracket replacement
- Panel replacement
- Opener replacement
- Any work on a door with a visibly kinked or snapped spring
- Replacing or adjusting the center bearing plate
If your task is in Bucket 3, book professional garage door spring repair. The line isn’t about whether you’re capable. It’s about whether the task can be done without putting a body part in the path of a spring under tension, and for Bucket 3 the honest answer is no.
Why Torsion Spring Replacement Is a Hard Professional Line in Crystal Lake
A torsion spring holds the entire weight of the door in a wound steel coil. When it’s properly wound, that coil stores several hundred foot-pounds of torque. When it snaps or is released incorrectly, that stored energy is dumped instantly into whatever is in the way – a winding bar, a wrench, or a hand. That’s the physics. It’s not a liability hedge.
Here’s what “winding the spring yourself” actually involves. The new spring has to be slid onto the torsion tube, then the winding cone has to be turned in quarter- or half-turn increments using two solid steel winding bars. Each turn loads the spring further. You alternate bars, hold tension with one, advance the other, count the turns, and lock the set screws only after you reach the correct number. Then you do it again on the other side of a two-spring setup. If a bar slips out of the winding cone under load, it swings with enough force to break bone. If the set screws aren’t fully seated, the spring can unwind when the door cycles.
Crystal Lake makes this more urgent than some markets because our winters are long and cold. Springs cycle hundreds of times every heating season, and cold steel is less forgiving than warm steel. Doors that survived last winter often fail the first cold snap of the next one. When a spring fails, the door is dead weight and the opener is dragging the entire load until it strips the gear.
Our technicians have up to 13 years of experience and carry the correct winding bars, the correct spring wire gauge, and the correct wire diameter for your door’s weight. That’s not a sales angle. It’s the reason this task is in Bucket 3.
The Five DIY Tasks That Eliminate Most “Emergency” Service Calls
In our experience, a large share of the calls that come in as “my garage door is broken” turn out to be one of five things a homeowner could have handled in under an hour without tools. Try these before you assume the door is down for the count.
- Reprogram the opener or remote. A weak battery, a power blip, or a neighbor’s new opener on the same frequency can knock a remote off its rolling code. Re-pair per your manual, replace the remote battery, and test. This alone resolves more “the door won’t open” calls than anything else.
- Clean and realign the safety sensors. The two photo-eye sensors at the bottom of the track need a clear line of sight. Wipe the lenses with a dry cloth, check that neither is bumped out of alignment, and confirm the indicator light on each is solid. A single leaf or a spider web across one sensor will stop the door dead.
- Clear obstructions from the track. Look for a pebble, a chunk of ice, or a piece of debris wedged in the track channel. With the door in the down position and the opener disconnected, remove it. Don’t force the door up while something is jammed.
- Pull the manual release and test the door by hand. The red release cord disconnects the opener from the door. With the door disconnected, lift it halfway. A balanced door will hold in place. If it drifts down on its own or needs two hands to lift, the spring or balance is off and this is a professional call.
- Reset the opener at the breaker. Unplug the opener or flip its breaker for 30 seconds, then restore power. This clears a stuck logic state and is the first step in most opener troubleshooting sequences. If the door still won’t respond, that points to the opener itself, and you’ll want a garage door opener repair visit rather than a door replacement.
Each of these takes 10 to 30 minutes. Run them first. When you call, tell us what you tried. That shortens the diagnostic window and gets you to a fix faster.
Is Your Opener DIY-Programmable or Dealer-Level?
Remote and keypad programming is DIY on almost every residential opener made in the last 25 years. The rolling code logic that LiftMaster and Chamberlain use, and the programming sequence Genie uses, are all in the owner’s manual and require nothing more than the manual, a ladder, and the “learn” button on the opener head. If your opener has a learn button, you can program remotes yourself.
What’s not DIY is opener firmware or logic board replacement for certain systems, especially newer models with built-in Wi-Fi and app control. Those often require the manufacturer’s app to commission the unit, plus a firmware pairing step the manuals don’t fully walk you through. If your opener’s manual only describes a “dealer commissioning” step, that’s your line. The same applies to any opener that talks to a home automation hub through a proprietary bridge.
Where it gets brand-specific in Crystal Lake:
- LiftMaster and Chamberlain: Remote and keypad programming is DIY. MyQ-style app pairing is usually DIY if you have the app and 2.4 GHz Wi-Fi available. Logic board replacement is professional.
- Genie: Older models and current Aladdin Connect models differ. Manual programming is fine. Firmware and board work is professional.
- Clopay and Amarr doors: Doors, not openers, so the programming question doesn’t apply. But if you’re pairing a new opener to an older Clopay door, the travel limit calibration needs the door weight to be right, which goes back to spring balance.
- Older Craftsman and Raynor openers: Often still programmable by manual. If the opener is more than a decade old and the board fails, replacement is usually more economical than board-level repair.
The practical test: if the programming instructions are in your paper manual, do it yourself. If your manual tells you to contact a dealer or installer, that’s a real line, not a marketing one.
How DIY Repairs Void Your Garage Door Warranty
New doors and openers often come with a manufacturer warranty that specifically excludes damage caused by improper installation or repair, and excludes spring or balance failures caused by an unqualified repair. If your door is under warranty, DIY work on the spring, cables, or opener wiring is the fastest way to lose coverage. Door panel replacement and opener board replacement are usually covered the same way.
How to check if your door qualifies:
- Find the manufacturer’s label inside the door panel or on the opener housing. It lists the model and serial number.
- Check your original install paperwork or ask the installer whether the warranty is still active. Most doors carry a limited warranty period stated in the original documents.
- Read the warranty terms for language about “unauthorized repair” or “improper installation.” Those clauses are common and they are the ones that apply.
- If the door is still under warranty, protect it. Use a professional for any spring, cable, or opener work so the coverage stays intact.
The one caveat: warranty matters most in the first several years after install. On an older door, the warranty is long gone and the decision returns to safety, not paperwork. Either way, call before you cut anything. A free estimate is cheaper than a lost warranty claim.
How to Diagnose Your Door Before You Decide
Before you sort your task into one of the three buckets, run this 5-minute diagnostic. It tells you whether the problem is cosmetic, mechanical, or electrical.
- Look at the springs. A torsion spring is a horizontal coil above the door. An extension spring is a vertical coil on each side. If you see a visible gap or kink in either, the door is in Bucket 3. Do not force it.
- Listen to the opener. A whine or buzz with no door movement usually means the opener is running but the door is disconnected or the spring is broken. Silence means power or logic.
- Watch the sensors. Both photo-eye sensors should have a solid indicator light. Flashing or dark means misalignment or a dead sensor.
- Test the door by hand. With the opener disconnected, the door should lift with one hand and hold in place. If it drops or needs lifting force, the spring or balance is off.
- Check the tracks. Bends in the vertical or horizontal track, or debris in the channel, cause stalling and grinding.
- Examine the weather seal. A cracked or torn bottom seal is the most common cosmetic issue and the easiest fix.
Whatever the diagnostic tells you, we’re set up to help. For routine repair work, call and ask for our garage door repair team. For a door that’s fully inoperative, our emergency service is built for that exact situation.
Crystal Lake Climate and Your Garage Door: What Actually Wears Out Here
Crystal Lake winters are hard on garage doors in specific, predictable ways. The freeze-thaw cycles common to northern Illinois work into the bottom seal and the track, and the cold contracts the metal enough that springs that were marginal in the fall snap in January. Doors on the north-facing side of a home, and doors that catch wind off the lake, see the worst of it.
What tends to wear out, and when to expect it:
- Bottom weather seal: cracks and hardens every 3 to 5 winters. Safe DIY replacement.
- Torsion springs: average 7 to 9 years of cycle life, less on doors opened multiple times a day. Professional-only.
- Rollers: bearings stiffen with cold and dust. Safe DIY or scheduled professional replacement.
- Opener gear and logic board: heat and humidity in summer, cold in winter, plus power surges. Manufacturer-dependent, often dealer-level.
- Track alignment: ice in the track channel can push the door off line. Safe DIY for minor misalignment, professional for bent track.
- Panel dents and rust: road salt tracked into the garage, plus freeze-thaw condensation. Professional for panel replacement.
Neighborhoods near the lake tend to see faster seal failure because lake-effect humidity cycles the rubber more. Cul-de-sac developments out toward the western edges see more track issues from windblown debris. None of this changes the DIY vs professional line, but it does change your maintenance cadence. Inspect the seal and springs every fall before the first hard freeze. That single habit prevents most of the winter emergency calls we see in Crystal Lake.
DIY Cost vs Professional Cost in Crystal Lake
The honest answer is that some DIY tasks are genuinely cheaper and genuinely safe. Others look cheaper on paper until you factor in a stripped screw, a lost warranty claim, or an ER visit. Here’s a straight comparison. Every professional price below is a typical estimate for the Crystal Lake area, and the written estimate you receive sets the final price.
Safe DIY: usually worth doing yourself
- Bottom weather seal: $20-$60 in material, 30-60 minutes. No injury risk.
- Roller lubrication: $10-$20 in lubricant, 15 minutes. No injury risk.
- Sensor alignment or cleaning: $0 in material, 15 minutes. No injury risk.
- Remote or keypad reprogramming: $0-$15 for a battery, 10 minutes. No injury risk.
Professional-only: DIY is not worth the risk
- One torsion spring replacement: typically $180-$340 professionally. A matched pair is usually replaced together, so a pair runs about twice that.
- Cable replacement: typically $150-$280 per side.
- Roller replacement (full set, professional): typically $180-$320.
- Opener logic board or motor: varies widely by brand and model. Written estimate per job.
- Panel replacement: varies with panel size, style, and brand availability.
- Full door and opener installation: a measured, ordered, and scheduled job. Free measure and written price.
For a spring on a door in Crystal Lake, the DIY material cost is real, but so is the risk. Our technicians have up to 13 years of experience, work on LiftMaster, Chamberlain, Genie, Clopay, Amarr, Wayne Dalton, Craftsman, and Raynor systems, and quote the price in writing before any work starts. That’s the tradeoff: you spend a bit more, and you don’t have to learn spring physics the hard way.
On any professional job, the written estimate is the price. If the door needs more once we’re on site, we quote it and get your agreement before we touch it. No invoice surprises.
Common Mistakes to Avoid
- Winding your own torsion spring. The most common and most dangerous mistake. Even experienced technicians treat this as a two-person job with proper winding bars. It is never a homeowner task.
- Assuming the opener is broken when it’s a sensor. Most “dead opener” calls are misaligned photo-eye sensors. Check them first, and you’ll save a service call.
- Cutting a torsion spring instead of unwinding it. Some online guides suggest cutting the spring to release tension. Don’t. That releases stored energy unpredictably and can crack the panel or injure the person cutting.
- Replacing one spring when the pair is worn. A matched pair wears together. Replacing only the failed side loads the older spring past its life and usually means a second service call within months. For Crystal Lake doors, replace the pair.
- Ignoring the bottom seal through winter. A torn seal lets meltwater freeze into the track and turns a $30 fix into a $250 track repair.
- Forcing a door that won’t move. If the door is dead weight, the opener is dragging the whole door and stripping the gear. Stop. Call.
- Doing DIY work on a door under warranty. A warranty void on a door with years of coverage left is a much bigger cost than the professional repair.
- Using WD-40 on the tracks instead of garage-door lubricant. Standard spray oils attract dust and gum up the rollers. Use a purpose-made garage-door lubricant.
See the difference
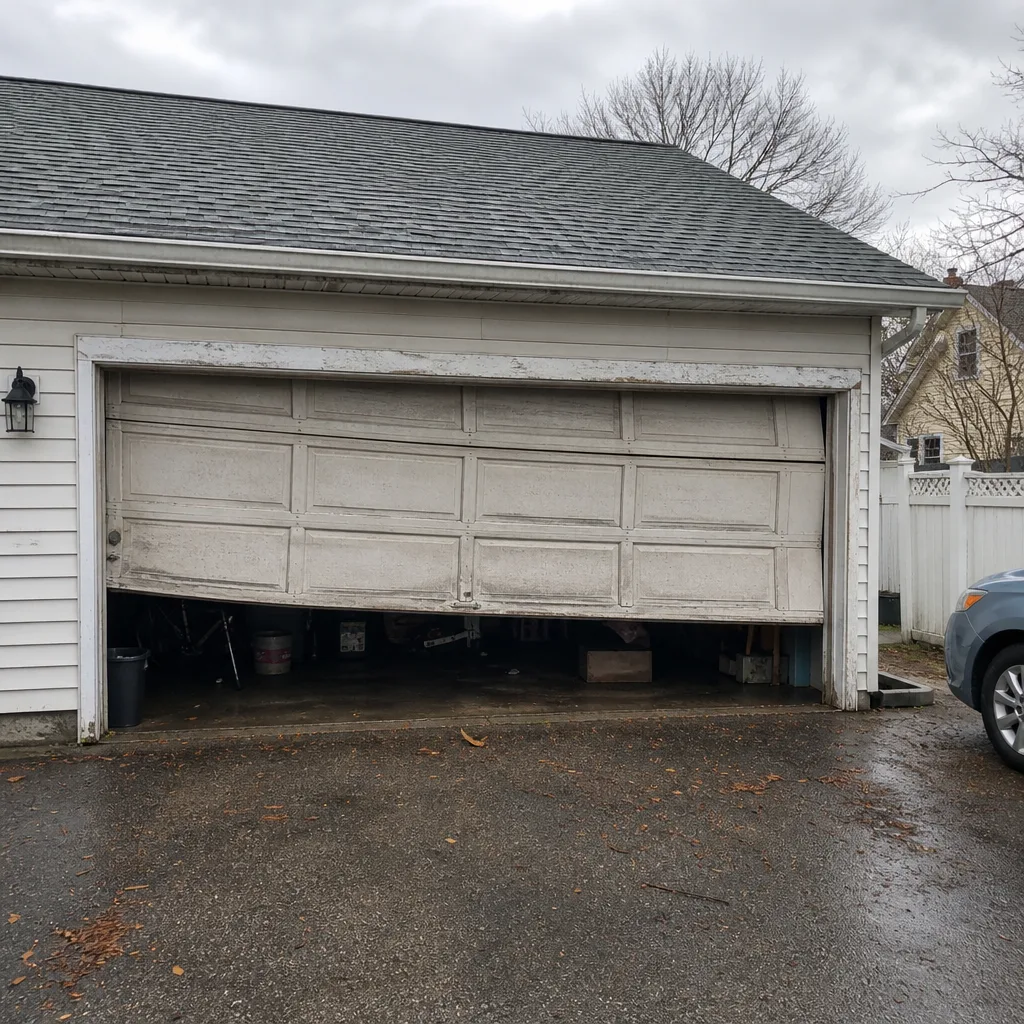 Before
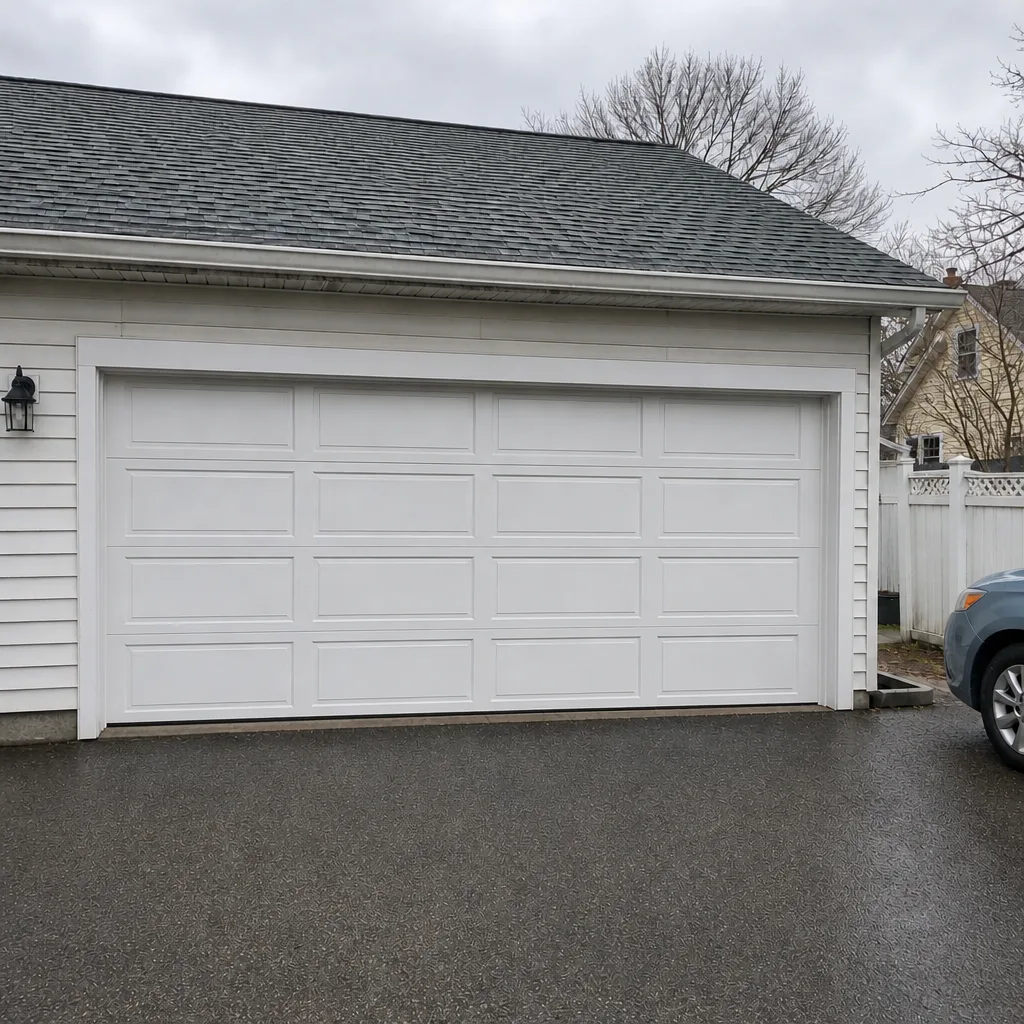 After
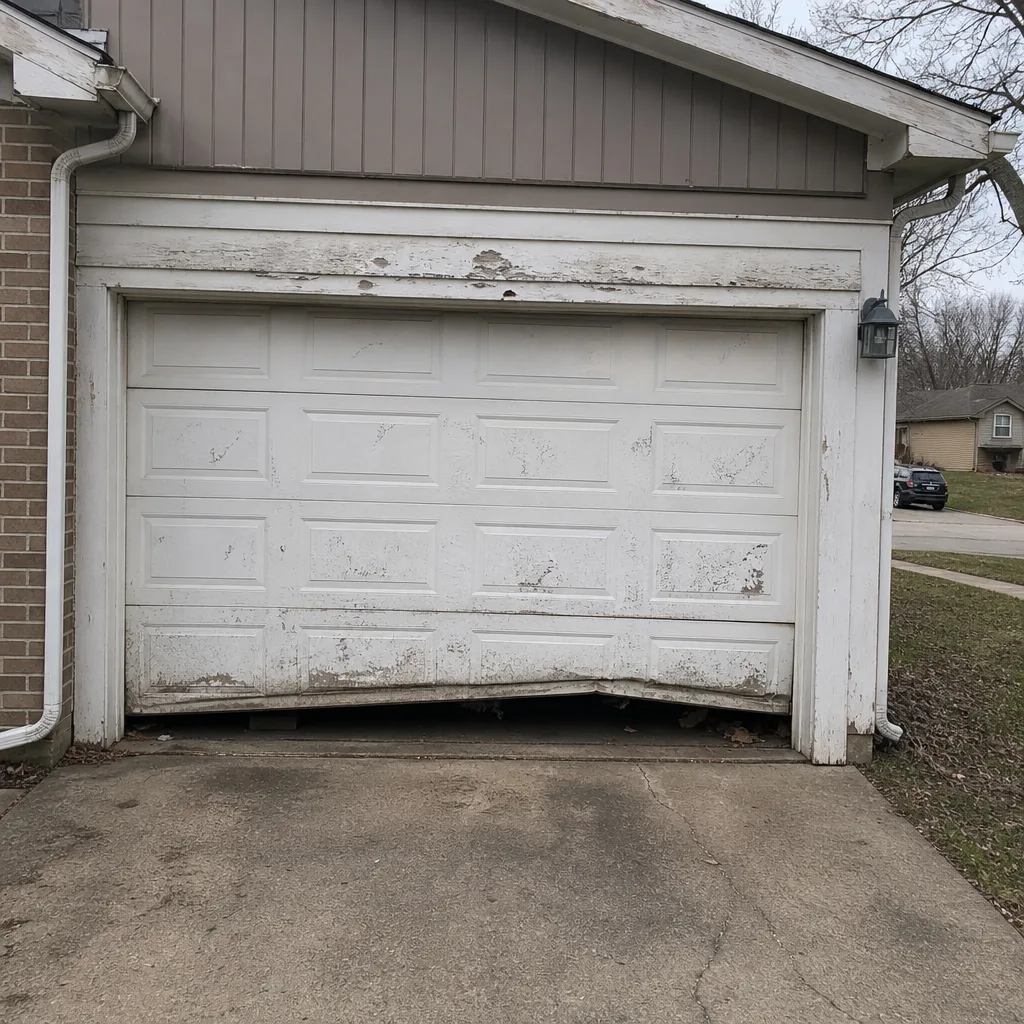 Before
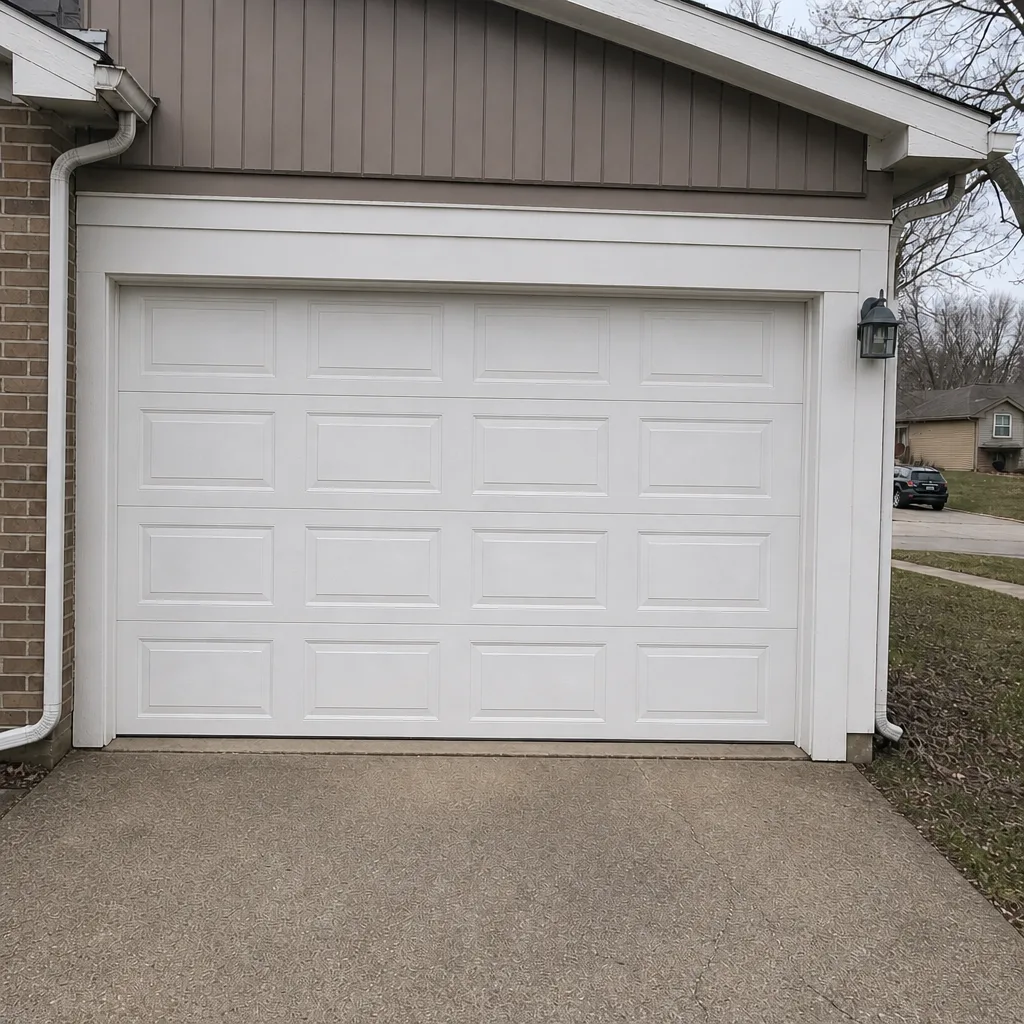 After
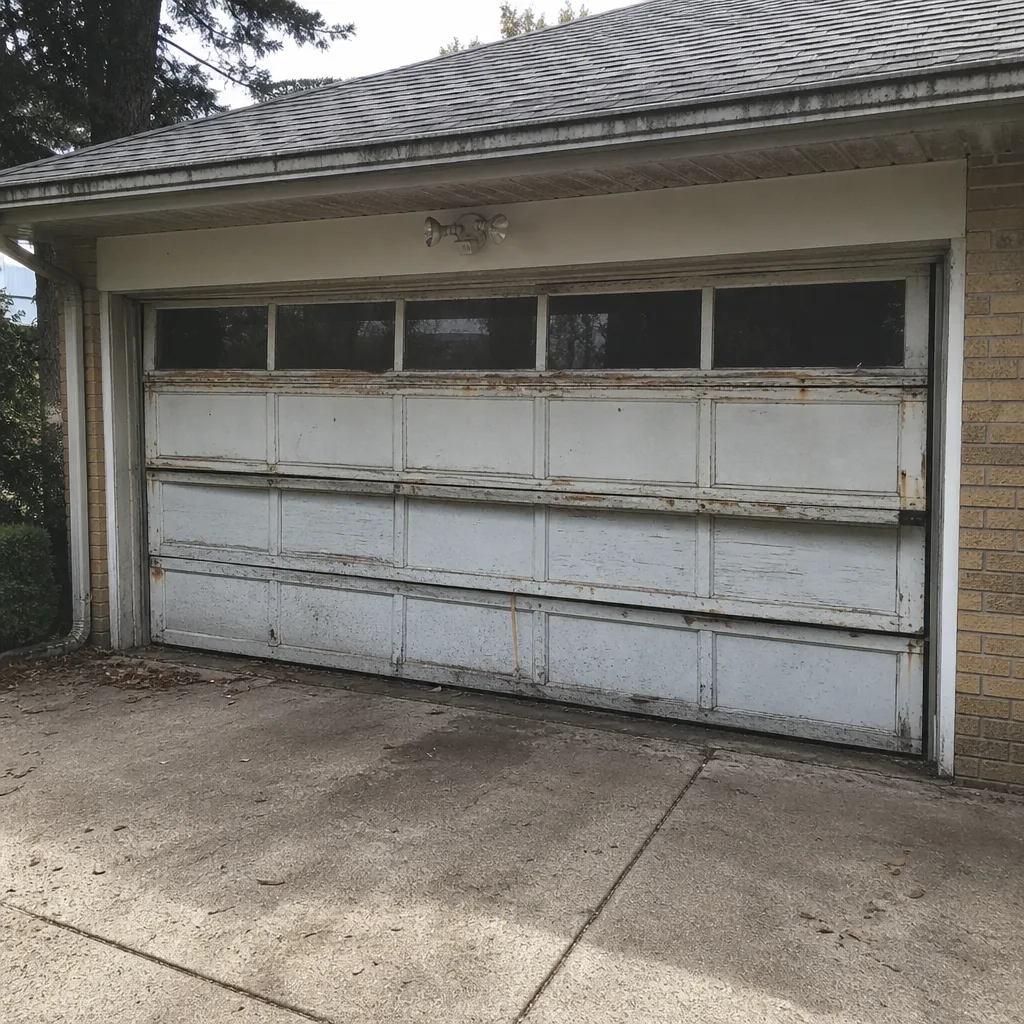 Before
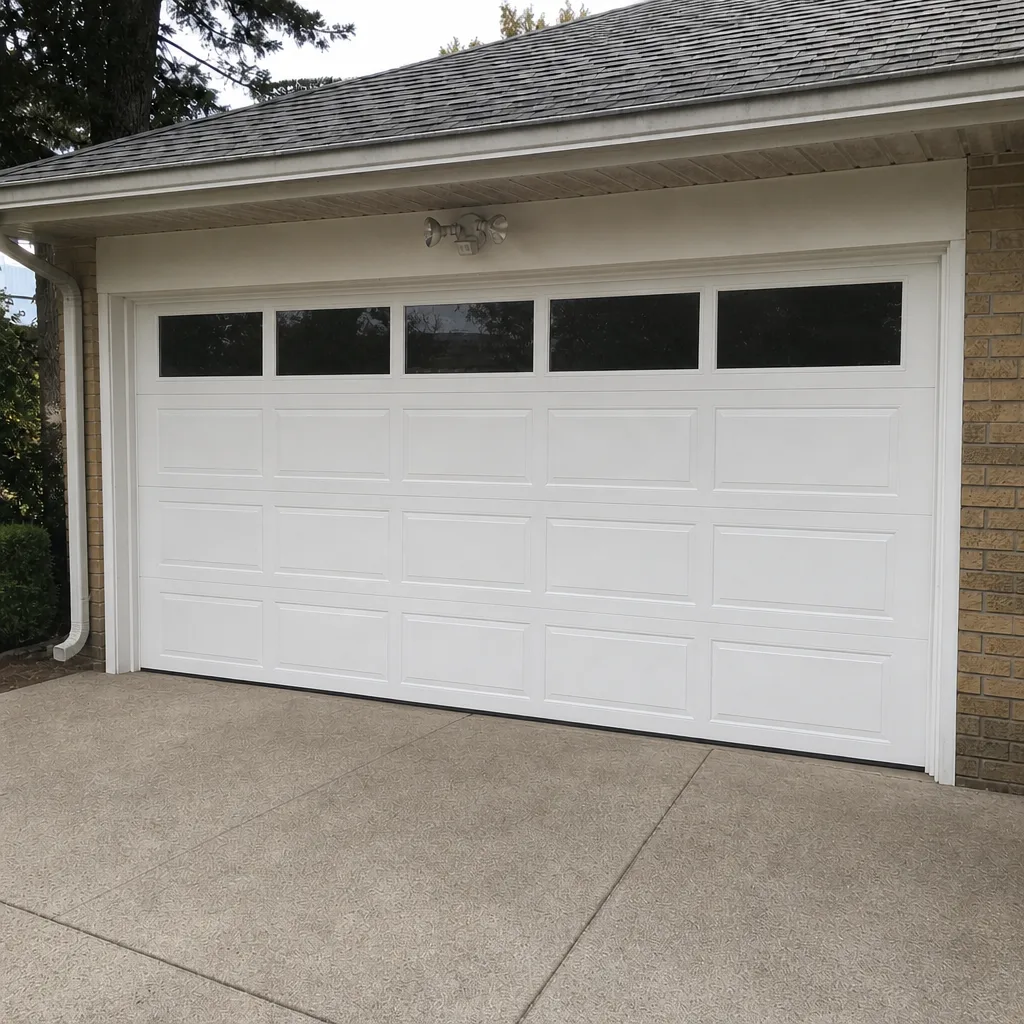 After
When to Call a Professional
Call when the task is in Bucket 3, when the door won’t open or close at all, when a spring is visibly broken, when the door is off its track, or when the opener is dead after a reset. Call when the door is under warranty and the task involves mechanical or electrical work. Call when you’ve tried the five safe DIY tasks and the door still doesn’t respond. Call when the garage is attached and the door won’t close, because a stuck-open door on an attached garage is an open invitation.
Crystal Lake Garage Door Repair Pros offers free estimates in Crystal Lake. We work on eight major brands – LiftMaster, Chamberlain, Genie, Clopay, Amarr, Wayne Dalton, Craftsman, and Raynor – and we quote every job in writing before work starts. Call (844) 493-4287. We answer 24/7. Fast dispatch from 7am to 7pm, Sunday through Friday. Same-day service is often available for repair calls, and emergency garage door service is available when a door won’t move and can’t wait.
Frequently Asked Questions
No. Torsion and extension spring replacement is professional-only work and should never be attempted by a homeowner. The spring stores enough energy to cause a serious injury if it releases during winding, and the tools required (winding bars, correct wire gauge, torque calibration) are not homeowner equipment. Call (844) 493-4287 for a free estimate on a proper spring replacement – estimates are free.
Typical spring repair runs $180-$340 for a single spring, and a matched pair is usually replaced together at about twice that, since the pair shares the door load and wears together. The written estimate sets the final price, and we quote before any work starts. Call (844) 493-4287 for an exact quote – estimates are free.
Same-day service is often available for repair calls in Crystal Lake, and emergency garage door service is available when a door won’t move and can’t wait. The fastest way to know is to call. Call (844) 493-4287. We answer 24/7. Fast dispatch from 7am to 7pm, Sunday through Friday.
No. Once we diagnose the issue, we quote the price in writing and get your agreement before any work starts. If the door needs more than the original diagnosis, we quote the additional work and you decide. The written estimate is the price.
The local professionals we connect you with are licensed and insured as their state requires. Our technicians have up to 13 years of experience and are trained on eight major brands, including LiftMaster, Chamberlain, Genie, Clopay, Amarr, Wayne Dalton, Craftsman, and Raynor. Call (844) 493-4287 for a free estimate.
Weather seal replacement, roller lubrication, sensor alignment or cleaning, remote and keypad reprogramming, and minor hinge bolt tightening are all safe DIY tasks with no stored spring tension and no lifting of heavy panels. Anything involving a spring, cable, bottom bracket, opener logic board, or panel replacement belongs with a professional. Call (844) 493-4287 if you’re unsure which category your issue falls into – estimates are free.
The Bottom Line
The DIY vs professional question for garage doors comes down to stored energy, not skill level. Safe DIY tasks – weather seals, roller lubrication, sensor alignment, remote programming, and hinge tightening – cost $0-$60 and eliminate most emergency calls. Everything involving a spring, cable, bottom bracket, panel, or opener board sits on the professional side of the line, and that line holds whether it’s the first week of winter or the last. In Crystal Lake, checking the bottom seal and springs every fall before the first freeze heads off most of the failures we see. When the task is on the professional side, that’s why our team is here.
Crystal Lake Garage Door Repair Pros works on LiftMaster, Chamberlain, Genie, Clopay, Amarr, Wayne Dalton, Craftsman, and Raynor systems, from broken spring to brand-new door. If you’re at the decision point and would rather have a trained eye look at it, call (844) 493-4287 for a free estimate. We answer 24/7, with fast dispatch from 7am to 7pm, Sunday through Friday. Same-day repair and emergency service are available when a door won’t move. From broken spring to brand-new door, that’s the whole job, and garage doors are all we do.
Written by the team at Crystal Lake Garage Door Repair Pros.